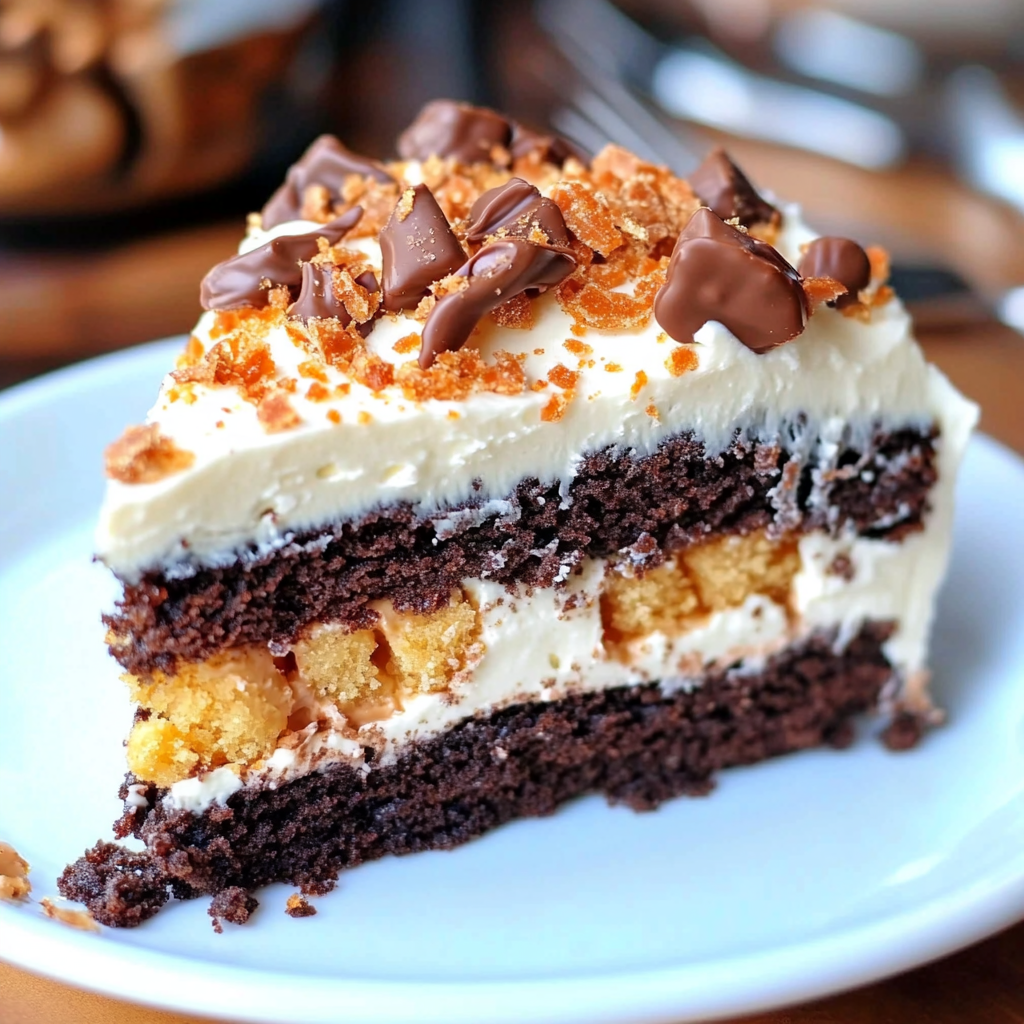
The moment you sink your fork into the Butterfinger Bomb Cake, you’re greeted with a delightful explosion of rich chocolate, creamy peanut butter, and crunchy Butterfinger bits. It’s as if your taste buds are attending a wild party where every bite is a dance-off between flavor and texture; you’ll be left wondering why you didn’t make this cake sooner!

Jump to:
- Ingredients for Butterfinger Bomb Cake
- REMEMBER
- How to Make Butterfinger Bomb Cake
- <strong>Perfecting the Cooking Process</strong>
- <strong>Add Your Touch</strong>
- <strong>Storing & Reheating</strong>
- FAQs:
- What ingredients are needed for Butterfinger Bomb Cake?
- How do I store leftover Butterfinger Bomb Cake?
- Can I make Butterfinger Bomb Cake ahead of time?
- Is there a way to make Butterfinger Bomb Cake healthier?
- Conclusion for Butterfinger Bomb Cake:
- 📖 Recipe Card
Picture this: a cozy gathering with friends or family, everyone sharing laughs while devouring slices of this heavenly cake that look almost too good to eat. This Butterfinger Bomb Cake isn’t just dessert; it’s an experience that turns any mundane evening into a sweet celebration. You’ll find yourself eagerly anticipating the next slice as you reminisce about childhood candy cravings and the joyful chaos of bake sales gone right.
Why You'll Love This Recipe
- The Butterfinger Bomb Cake is easy to whip up, making it perfect for novice bakers or busy folks alike.
- Its rich flavor combines chocolate and peanut butter, leaving everyone wanting more.
- Visually stunning, this cake will be the star of any dessert table.
- Perfect for birthdays, potlucks, or just because you deserve a treat today!
Ingredients for Butterfinger Bomb Cake
Here’s what you’ll need to make this delicious dish:
- All-Purpose Flour: Essential for structure; sift it to ensure lightness in your cake.
- Cocoa Powder: Use unsweetened cocoa powder for that rich chocolate flavor every cake needs.
- Baking Powder: This leavening agent ensures your cake rises beautifully and remains fluffy.
- Sugar: Granulated sugar adds sweetness and helps with moisture retention in the cake.
- Butter: Use unsalted butter for better control over the saltiness in your recipe.
- Eggs: They bind the ingredients together while adding richness to the flavor.
- Peanut Butter: Creamy or chunky works here; it’s the heart of that nutty goodness!
- Milk: Whole milk gives the cake moisture and richness; you can substitute with plant milk if desired.
- Butterfinger Candy Bars: Chopped up to add that signature crunch and flavor throughout the cake.
The full ingredients list, including measurements, is provided in the recipe card directly below.
How to Make Butterfinger Bomb Cake
Follow these simple steps to prepare this delicious dish:
Step 1: Preheat Your Oven
Preheat your oven to 350°F (175°C). While it’s warming up, grease two round baking pans with non-stick spray and line them with parchment paper for an easy release.
Step 2: Mix Dry Ingredients
In a large mixing bowl, whisk together flour, cocoa powder, baking powder, and sugar until well combined. This step is crucial—think of it as prepping your party before your guests arrive.
Step 3: Cream Together Wet Ingredients
In another bowl, beat together softened butter and peanut butter until smooth. Add eggs one at a time, mixing well after each addition. Finally, stir in milk until everything is perfectly blended—a beautiful batter should form!
Step 4: Combine Mixtures
Gradually add the dry mixture into the wet ingredients. Stir gently until just combined—overmixing could lead to a tough texture! Fold in those chopped Butterfingers like they’re VIP guests at your bash.
Step 5: Bake
Divide your batter evenly between the prepared pans. Bake for about 25-30 minutes or until a toothpick inserted into the center comes out clean. Your kitchen will smell like a candy factory explosion—a glorious scent!
Step 6: Cool and Assemble
Once baked, let the cakes cool in their pans for about ten minutes before transferring them to wire racks to cool completely. Once cooled, stack them on top of each other with layers of frosting or whipped cream if desired.
Finish by drizzling some melted chocolate over top and sprinkling additional chopped Butterfingers—because why not go all out? Transfer to plates and serve slices with pride!
By following these simple steps, you’ll create an unforgettable dessert that brings joy not only through taste but also through shared moments around the table. Enjoy every bite!
You Must Know
- This Butterfinger Bomb Cake is not just a dessert; it’s a celebration on a plate!
- With its rich flavors and delightful textures, this cake is bound to steal the show at any gathering.
- Ideal for birthdays, holidays, or just because you deserve a treat!
Perfecting the Cooking Process
Start by baking the cake layers first. While they cool, prepare the creamy filling and chocolate ganache. Assemble everything once cooled to ensure layers hold their shape and flavors meld beautifully.
Add Your Touch
Feel free to swap out the chocolate for dark or white, or add your favorite nuts for extra crunch. Drizzle with caramel sauce for an over-the-top indulgence that will leave everyone asking for seconds!
Storing & Reheating
Store any leftover cake in an airtight container at room temperature for up to three days. To enjoy later, let it sit out for about 30 minutes before serving to bring back that fresh taste.
Chef's Helpful Tips
- Always use room temperature ingredients for better mixing and fluffiness.
- Don’t rush the cooling process; it enhances flavor and texture.
- Lastly, allow the ganache to set slightly before pouring for a perfect drip effect.
I remember the first time I made this Butterfinger Bomb Cake; my friends devoured it faster than I could say “dessert.” Their smiles were worth every minute spent in the kitchen!
FAQs:
What ingredients are needed for Butterfinger Bomb Cake?
To make a delicious Butterfinger Bomb Cake, you will need a few key ingredients. Start with a box of chocolate cake mix or homemade chocolate cake, eggs, vegetable oil, and water. For the filling, gather cream cheese, powdered sugar, and crushed Butterfinger candy bars. The frosting requires chocolate frosting or a homemade chocolate ganache, and finally, have extra Butterfinger pieces for garnishing. This cake is perfect for those who love rich flavors and textures without using any pork or alcohol in the recipe.
How do I store leftover Butterfinger Bomb Cake?
After enjoying your Butterfinger Bomb Cake, storing leftovers properly will help maintain its flavor and texture. Place any uneaten cake in an airtight container to keep it fresh. You can also wrap the cake tightly in plastic wrap before placing it in the container. Store it in the refrigerator if you want to extend its shelf life for about 4 to 5 days. For longer storage, consider freezing individual slices wrapped in plastic wrap followed by aluminum foil for up to three months.
Can I make Butterfinger Bomb Cake ahead of time?
Yes! Preparing Butterfinger Bomb Cake ahead of time is quite convenient. You can bake the cake layers a day in advance and let them cool completely before wrapping them tightly in plastic wrap. This helps retain moisture and flavor. Assemble the cake with the filling and frosting closer to serving time for the best presentation. If you’re short on time on the day of your event, making this dessert a day or two ahead ensures you have one less thing to worry about.
Is there a way to make Butterfinger Bomb Cake healthier?
Absolutely! To make a healthier version of Butterfinger Bomb Cake, consider using whole wheat flour instead of regular flour for added fiber and nutrients. You can also substitute some of the sugar with natural sweeteners like applesauce or mashed bananas. Additionally, try reducing the amount of frosting or using a lighter whipped topping instead. Opting for dark chocolate instead of milk chocolate can also enhance flavor while providing antioxidants.
Conclusion for Butterfinger Bomb Cake:
In summary, the Butterfinger Bomb Cake is a delightful treat that combines rich chocolate flavors with creamy filling and crunchy candy toppings. This recipe avoids pork products and alcohol while still delivering an indulgent dessert experience. With easy preparation steps and storage tips provided, you can enjoy this cake fresh or as leftovers without compromising its taste. Whether it’s for a special occasion or just because, this cake is sure to impress family and friends alike!
Did You Enjoy Making This Recipe? Please rate this recipe with ⭐⭐⭐⭐⭐ or leave a comment.
📖 Recipe Card
Print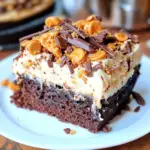
Butterfinger Bomb Cake
- Total Time: 50 minutes
- Yield: Approximately 12 servings 1x
Description
Butterfinger Bomb Cake is a decadent dessert that tantalizes your taste buds with layers of rich chocolate, creamy peanut butter, and crunchy Butterfinger bits. This delightful cake transforms any gathering into a celebration, making it perfect for birthdays, potlucks, or just a sweet indulgence. Easy to prepare and stunningly beautiful, it’s sure to be the highlight of your dessert table.
Ingredients
- 1 ¾ cups all-purpose flour
- ¾ cup unsweetened cocoa powder
- 1 ½ tsp baking powder
- 1 ½ cups granulated sugar
- ½ cup unsalted butter (softened)
- 3 large eggs
- 1 cup creamy peanut butter
- 1 cup whole milk
- 1 cup chopped Butterfinger candy bars
Instructions
- Preheat your oven to 350°F (175°C). Grease two round baking pans and line with parchment paper.
- In a bowl, whisk together flour, cocoa powder, baking powder, and sugar until combined.
- In another bowl, cream together softened butter and peanut butter. Add eggs one at a time, mixing well after each addition. Stir in milk until smooth.
- Gradually combine the dry ingredients with the wet mixture until just blended. Fold in chopped Butterfingers.
- Divide batter between prepared pans and bake for 25-30 minutes or until a toothpick comes out clean.
- Cool cakes for ten minutes in pans before transferring them to wire racks to cool completely.
- Prep Time: 20 minutes
- Cook Time: 30 minutes
- Category: Dessert
- Method: Baking
- Cuisine: American
Nutrition
- Serving Size: 1 slice (100g)
- Calories: 410
- Sugar: 32g
- Sodium: 220mg
- Fat: 19g
- Saturated Fat: 8g
- Unsaturated Fat: 10g
- Trans Fat: 0g
- Carbohydrates: 56g
- Fiber: 3g
- Protein: 7g
- Cholesterol: 40mg